How to make a silk top at home?
Making a silk top at home can be a rewarding and creative endeavor. As a supplier of Silk Tops, I've witnessed the beauty and elegance that silk brings to clothing. In this guide, I'll share the step - by - step process of creating your own silk top right in the comfort of your home.
Materials Needed
Before you start, gather the necessary materials. You'll need high - quality silk fabric. There are different types of silk, such as mulberry silk, which is known for its softness and luster, and charmeuse silk, which has a smooth and shiny surface. Choose the type of silk that suits your style and the look you want to achieve.
In addition to the silk fabric, you'll need a pattern. You can either purchase a pre - made pattern from a craft store or create your own. Other materials include sewing thread that matches the color of your silk, a pair of sharp fabric scissors, pins, a measuring tape, a sewing machine, and a tailor's chalk or fabric marker for marking the pattern on the fabric.
Choosing the Right Silk
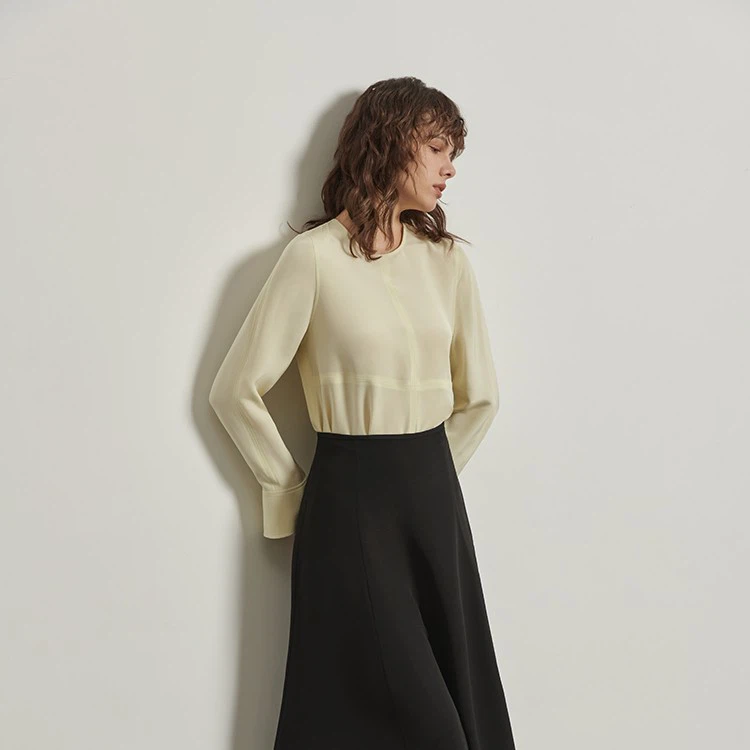
Silk comes in various weights and textures. For a top, a lightweight silk like habotai or chiffon can create a flowing and feminine look, while a heavier silk like dupioni can give a more structured appearance. Consider the season and the occasion when choosing your silk. For summer, a breathable and lightweight silk is ideal, while a heavier silk can be more suitable for cooler months.
When selecting the color of your silk, think about your skin tone and personal style. Bright colors can make a bold statement, while neutral tones are more versatile and can be easily paired with other items in your wardrobe.
Taking Measurements
Accurate measurements are crucial for a well - fitting top. Use a measuring tape to measure your bust, waist, and hips. Measure around the fullest part of your bust, keeping the tape parallel to the floor. For the waist, measure at the narrowest part of your torso, usually above your belly button. And for the hips, measure around the fullest part of your hips.
It's also a good idea to measure the length of the top you want. Decide whether you want a cropped top, a regular - length top, or a longer tunic - style top. Write down all your measurements carefully.
Preparing the Pattern
If you're using a pre - made pattern, make sure to choose the right size based on your measurements. Lay the pattern on a flat surface and cut it out along the lines. You may need to make some adjustments to the pattern, such as shortening or lengthening the sleeves or the hem.
If you're creating your own pattern, you can start with a basic block pattern and modify it according to your design ideas. Use a tailor's chalk or fabric marker to draw the pattern on a piece of paper or directly on the silk fabric. Mark all the important points, such as the darts, seams, and notches.

Cutting the Silk
Lay the silk fabric on a clean and flat surface. Place the pattern on top of the fabric, making sure it's centered and straight. Use pins to secure the pattern to the fabric. When cutting the silk, use sharp fabric scissors and cut slowly and carefully along the pattern lines.
Silk can be slippery, so it's a good idea to use weights or tape to hold the fabric in place. Be extra careful not to stretch the fabric while cutting, as this can affect the fit of the top.
Sewing the Seams
Thread your sewing machine with a matching silk thread. Set the sewing machine to a small stitch length, as this will give a more professional finish. Start by sewing the darts. Darts are used to shape the top and give it a better fit around the bust and waist. Pin the darts in place and sew along the marked lines, starting from the wide end and tapering to the point.
Next, sew the side seams of the top. Place the two pieces of fabric right - sides together and pin them along the edges. Sew along the pinned edges, leaving a small seam allowance. Press the seams open with an iron on a low - heat setting, as silk can be easily damaged by high heat.
Adding Sleeves
If your top has sleeves, cut the sleeve pattern pieces from the silk fabric. Pin the sleeves to the armholes of the top, right - sides together. Make sure the sleeves are centered and the notches on the sleeves match the notches on the top. Sew the sleeves in place, starting from the shoulder and sewing down to the underarm.
Press the sleeve seams open carefully. You can also add a hem to the sleeves for a finished look. Fold the edge of the sleeve under by a small amount and sew it in place.
Finishing the Hem
The hem of the top gives it a polished look. Fold the bottom edge of the top under by a small amount, usually about 1/4 to 1/2 inch, and press it with an iron. Then, fold it under again and sew it in place. You can use a straight stitch or a decorative stitch, depending on your preference.
For a more professional finish, you can use a serger or a zigzag stitch to finish the raw edges of the fabric before hemming. This will prevent the fabric from fraying.
Adding Details
You can add some details to your silk top to make it more unique. You can add buttons, zippers, or lace trim. Buttons can be a classic and elegant addition. Choose buttons that match the style and color of your top. Sew the buttons on the front of the top or on the sleeves.
Zippers can be used for a more modern and functional look. You can install a zipper on the side or the back of the top. Lace trim can add a feminine and romantic touch. Sew the lace trim along the edges of the top or on the sleeves.
Trying on the Top
Once you've finished sewing all the parts of the top, try it on to check the fit. Make any necessary adjustments, such as taking in or letting out the seams. You may also need to adjust the length of the sleeves or the hem.
If the top is too loose, you can take in the side seams or the darts. If it's too tight, you may need to let out the seams or make the darts smaller.
Caring for Your Silk Top
Silk is a delicate fabric, so it requires special care. Hand - wash your silk top in cold water with a mild detergent. Gently agitate the fabric and rinse it thoroughly. Avoid wringing or twisting the silk, as this can damage the fibers.
Lay the top flat on a towel to dry. Do not hang it to dry, as this can cause the fabric to stretch. Once the top is dry, you can iron it on a low - heat setting. Place a pressing cloth between the iron and the silk to prevent direct contact and potential damage.
Conclusion
Making a silk top at home is a fun and rewarding project that allows you to express your creativity and create a unique piece of clothing. By following these steps and using high - quality materials, you can create a beautiful silk top that fits you perfectly.
If you're interested in purchasing high - quality silk for your next project or are looking for ready - made Silk Tops, Tops T-shirts, or Silk Jacket, we're here to assist you. We offer a wide range of silk products in various colors, styles, and weights. Contact us to discuss your procurement needs and start creating your own stylish silk wardrobe.
References
- "The Complete Guide to Sewing with Silk" by Mary Smith
- "Silk Fabric: Properties and Care" by Jane Doe
- "Pattern Making Basics" by John Johnson